Capturing the Perfect Skincare Product Shot: A Step-by-Step Guide
In the vibrant world of online retail, visual content reigns supreme. For brands and businesses specialising in skincare, presenting your products in the best possible light—both literally and figuratively—is essential for attracting attention and driving sales. Whether you are a small business owner, a creative enthusiast, or working with professionals such as Melbourne Ecom and Studio Photography, this guide will help you master the art of skincare photography.
If you are based in Melbourne, a city renowned for its creative industries and exceptional natural light, you're in luck. Skincare photography in Melbourne offers a perfect blend of professional expertise and stunning natural aesthetics, providing your brand with a competitive edge. Let’s explore how you can achieve that flawless skincare product shot step by step.
Step 1: Understand Your Brand and Audience
Before picking up a camera, take a moment to reflect on your brand identity. Are you aiming for a minimalist, clean aesthetic, or do you want to evoke a more luxurious and indulgent feel? Understanding your audience is just as crucial. For example:
Target Audience: Millennials may favour bold, vibrant imagery, while an older demographic may be more drawn to classic, elegant styles.
Tone: Whether you’re conveying a natural, eco-friendly vibe or a modern, clinical image, your visuals should reflect your brand’s message.
If you’re working with professionals like Melbourne Ecom and Studio Photography, ensure you communicate your vision clearly to align your ideas with their expertise.
Step 2: Assemble Your Equipment
Having the right tools at your disposal is essential for skincare photography. Here's a quick checklist of equipment you'll need:
Camera: A DSLR or mirrorless camera with interchangeable lenses is ideal. Look for models with good dynamic range and resolution.
Lenses: A macro lens can capture intricate product details, while a 50mm or 85mm lens is perfect for showcasing the elegance of packaging.
Lighting: Softbox lights, ring lights, and natural light are excellent for soft, flattering illumination.
Tripod: For consistency and stability, a sturdy tripod is a must-have.
Reflectors: Reflectors help bounce light and reduce unwanted shadows.
Backgrounds: Choose backgrounds that complement your product, such as plain white, textured surfaces, or vibrant colours that match your packaging.
Step 3: Master Lighting Techniques
Lighting can make or break your skincare shots. For most products, soft and diffused lighting works best to highlight textures and eliminate harsh shadows. Here are some key lighting tips:
Natural Light: Melbourne’s natural light is a fantastic resource. Try shooting early in the morning or late in the afternoon when the light is soft and warm.
Artificial Lighting: Use softboxes or diffusers to replicate the look of natural light. Experiment with different angles to add depth and dimension.
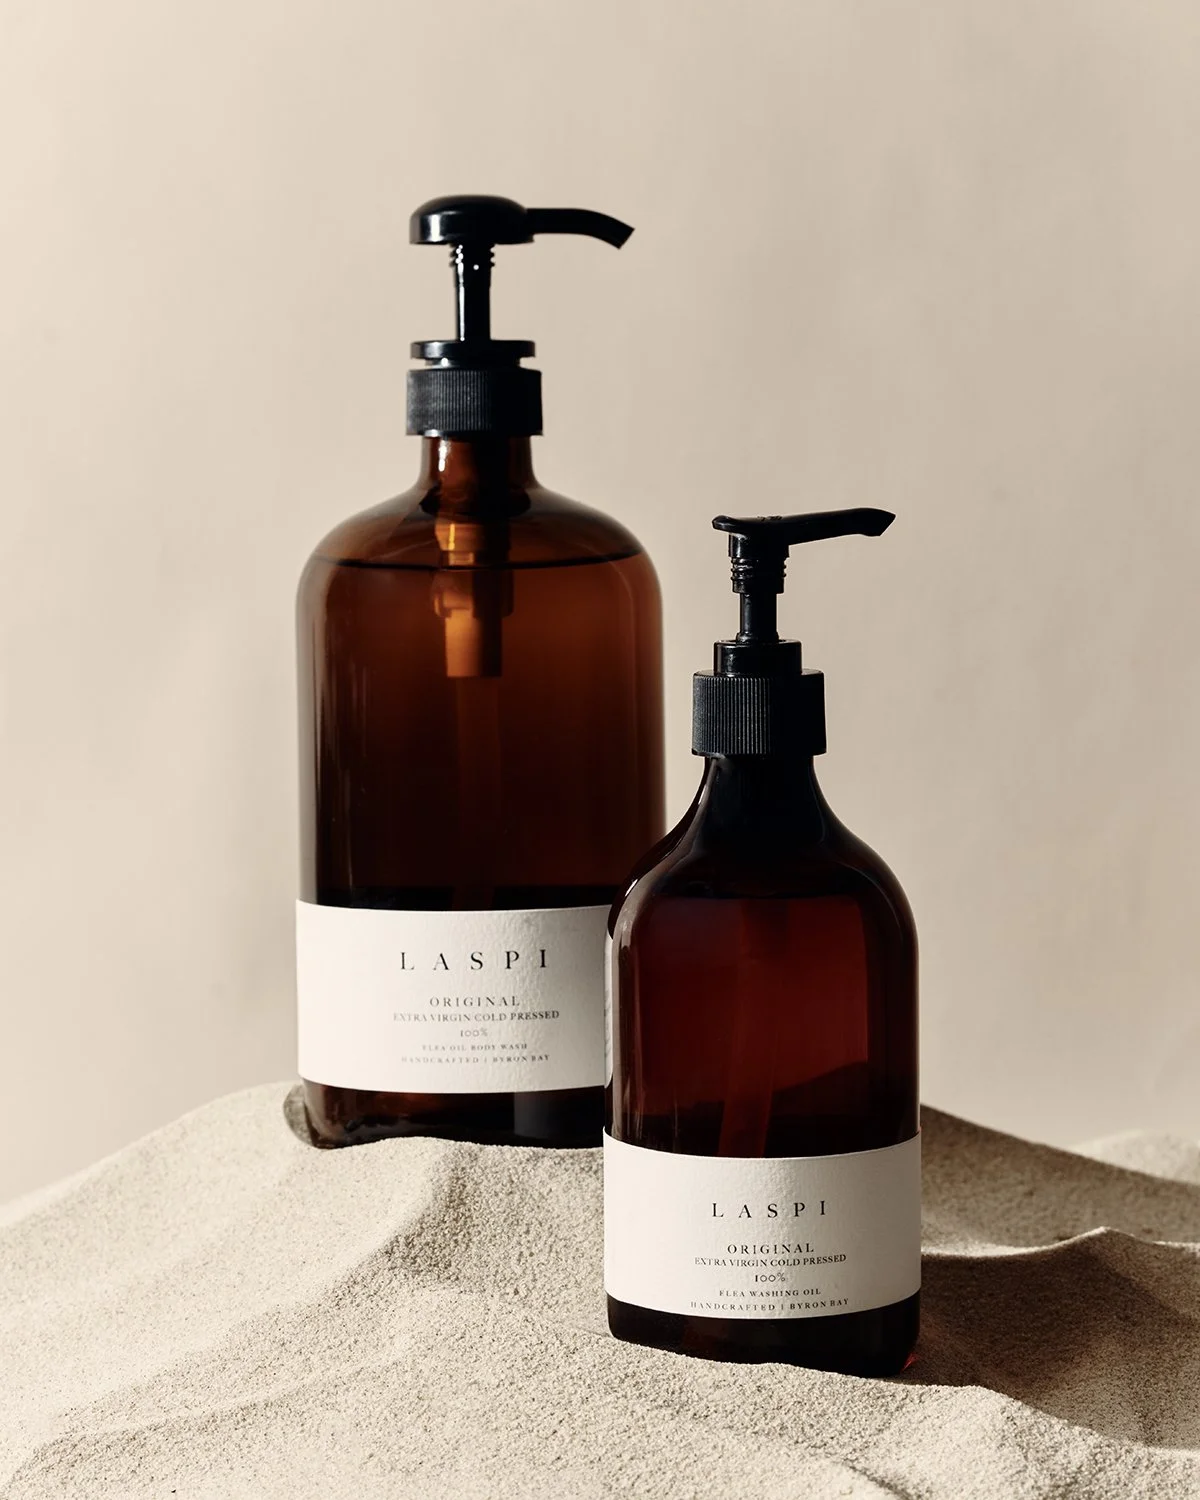
Highlight the Product’s Features: For reflective surfaces like glass bottles, position the light carefully to avoid harsh reflections while maintaining a clean and sleek look.
Pro Tip: Melbourne’s dynamic weather can significantly impact natural lighting. Always have a backup plan with artificial lighting to ensure consistency, regardless of the weather.
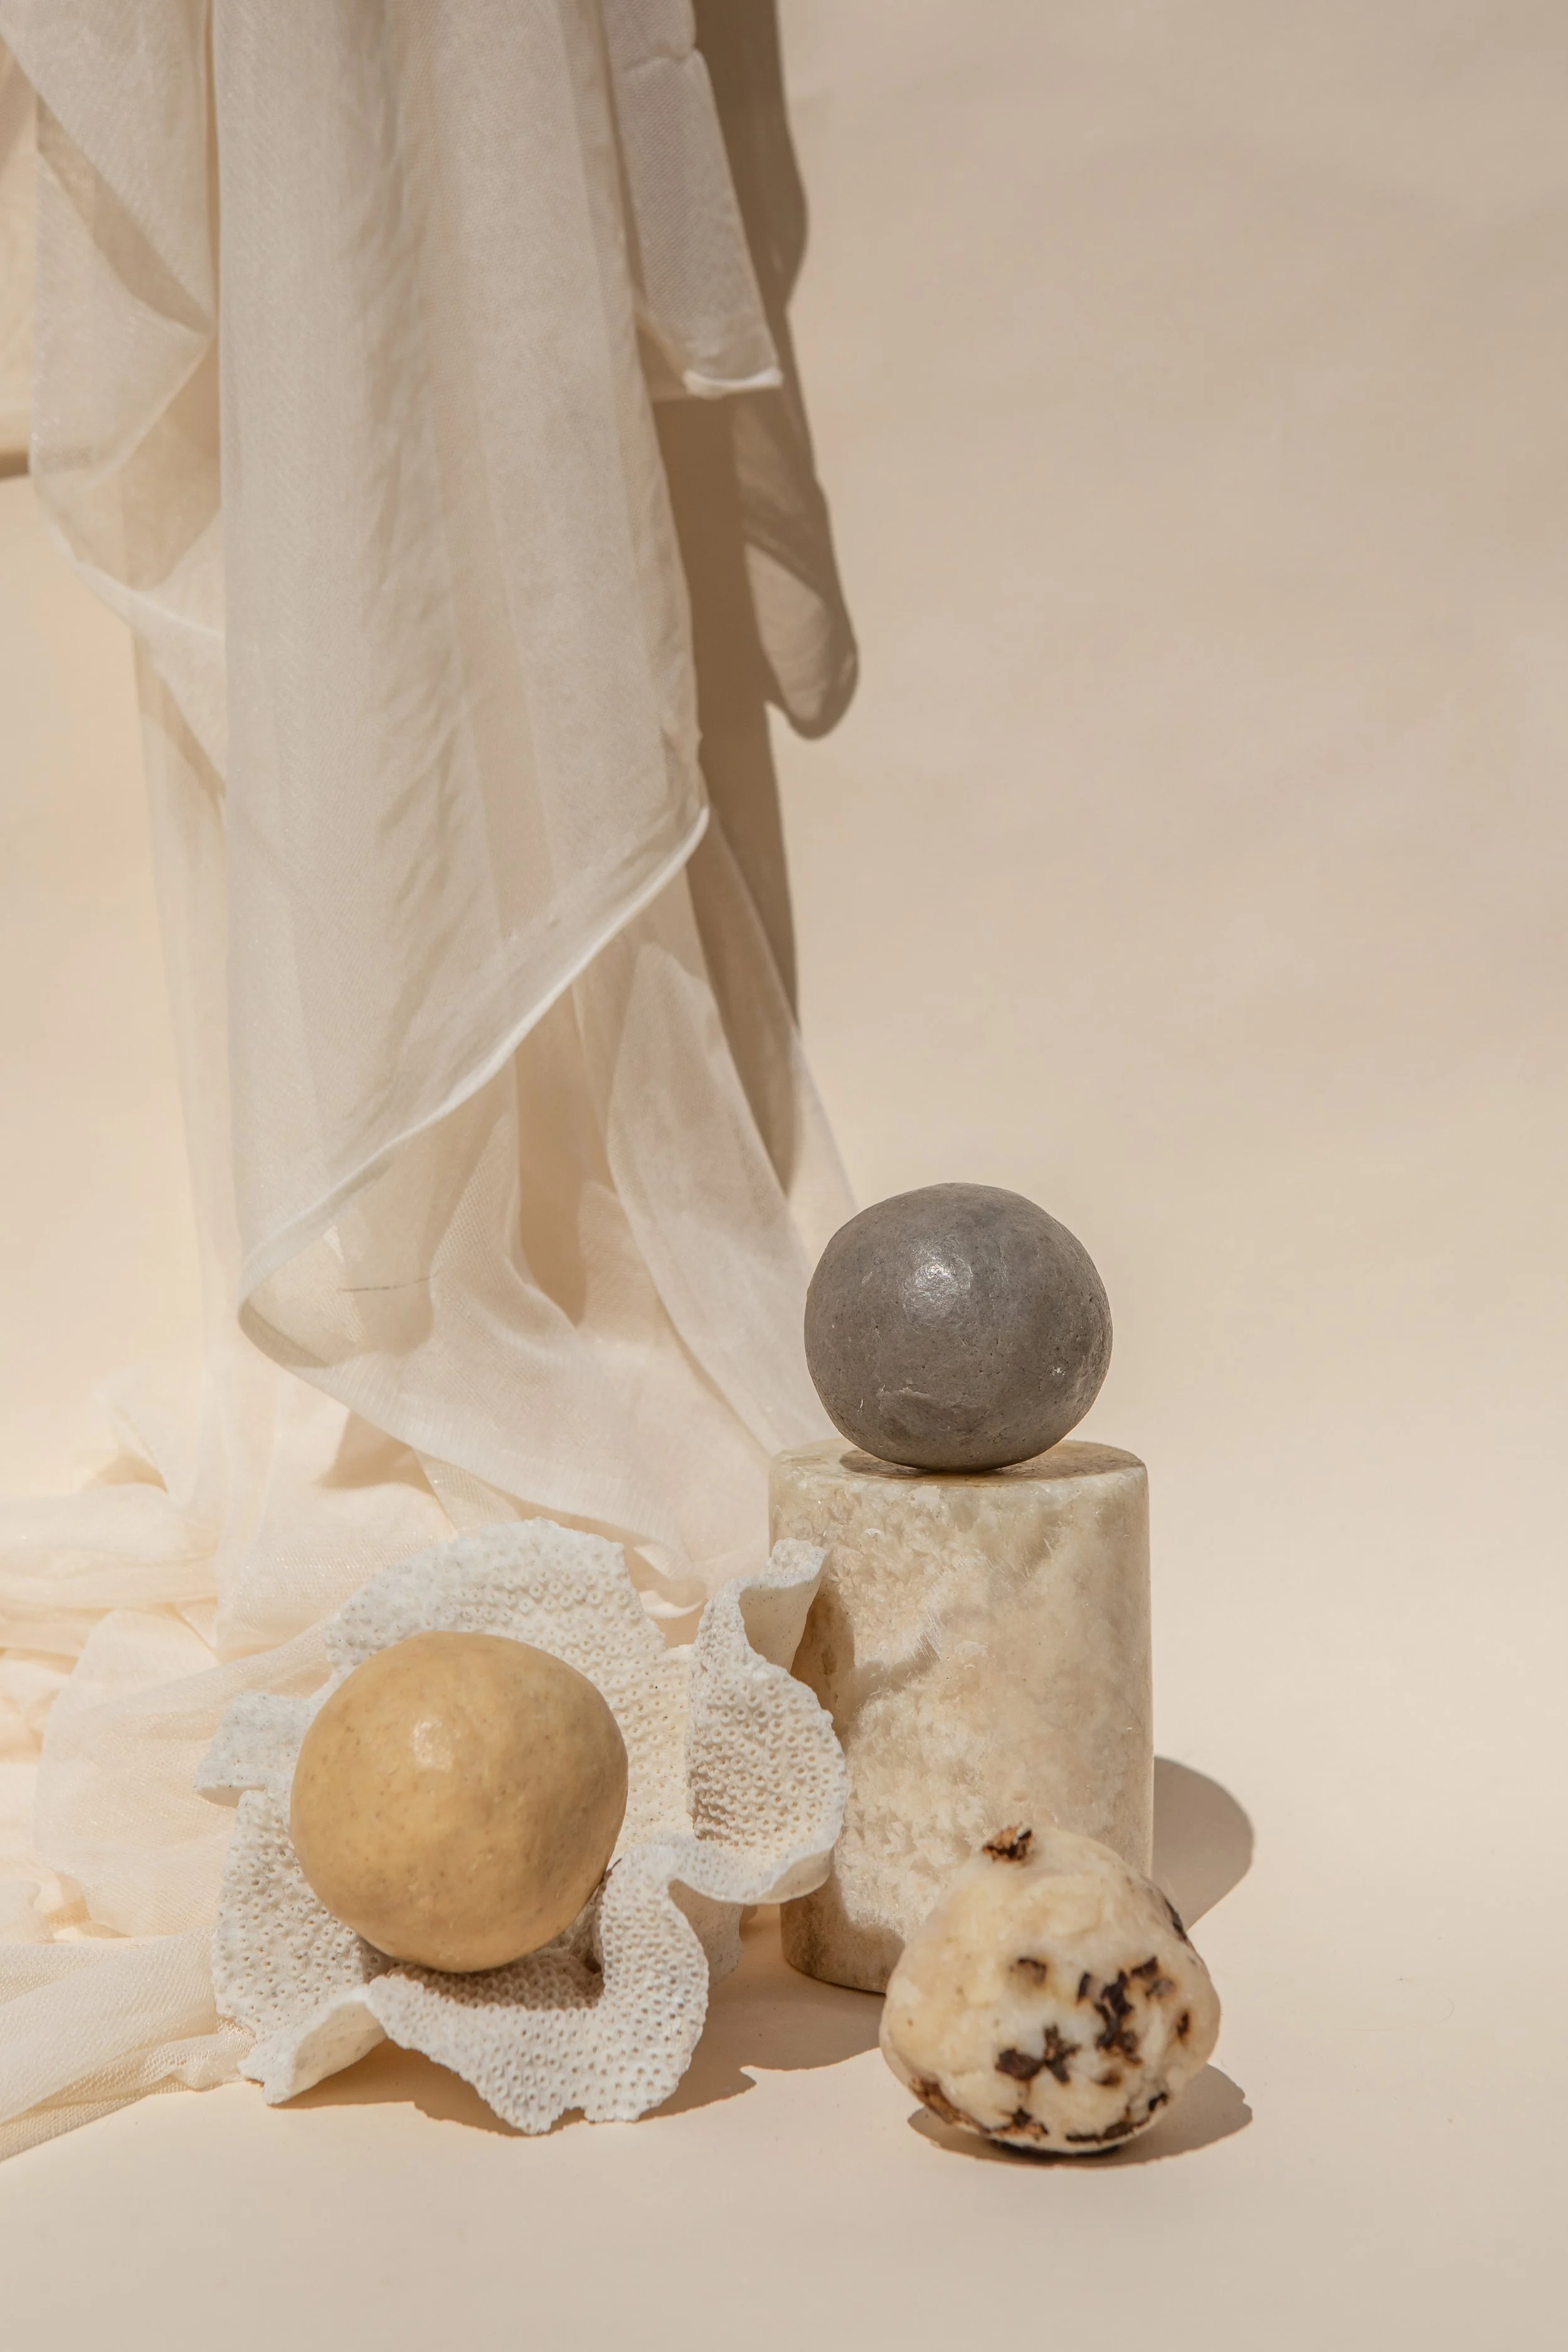
Step 4: Style Your Scene
Styling is where your creativity can truly shine. The way you arrange your products and props can elevate your images and tell a compelling story. Here’s how to style your shots:
Keep It Clean: Skincare products often convey purity and cleanliness, so avoid clutter and stick to a minimalist approach.
Use Props Strategically: Incorporate props such as towels, flowers, or skincare tools to create context and enhance the narrative around your product.
Match Colours: Use colours that complement your product’s packaging. For example, green foliage works beautifully with eco-friendly brands.
Showcase Ingredients: Highlight key ingredients like aloe vera, lavender, or shea butter to give your image an engaging touch.
Step 5: Perfect Your Composition
Composition is the art of arranging visual elements in a way that draws the viewer’s eye to the product. A well-composed shot not only showcases the product but also tells a story. Follow these principles for a balanced composition:
Rule of Thirds: Divide your frame into thirds and position your product along the grid lines for visual balance.
Leading Lines: Use lines or patterns in your setting to direct attention to the product.
Negative Space: Leave empty space around your product to create focus and emphasise simplicity.
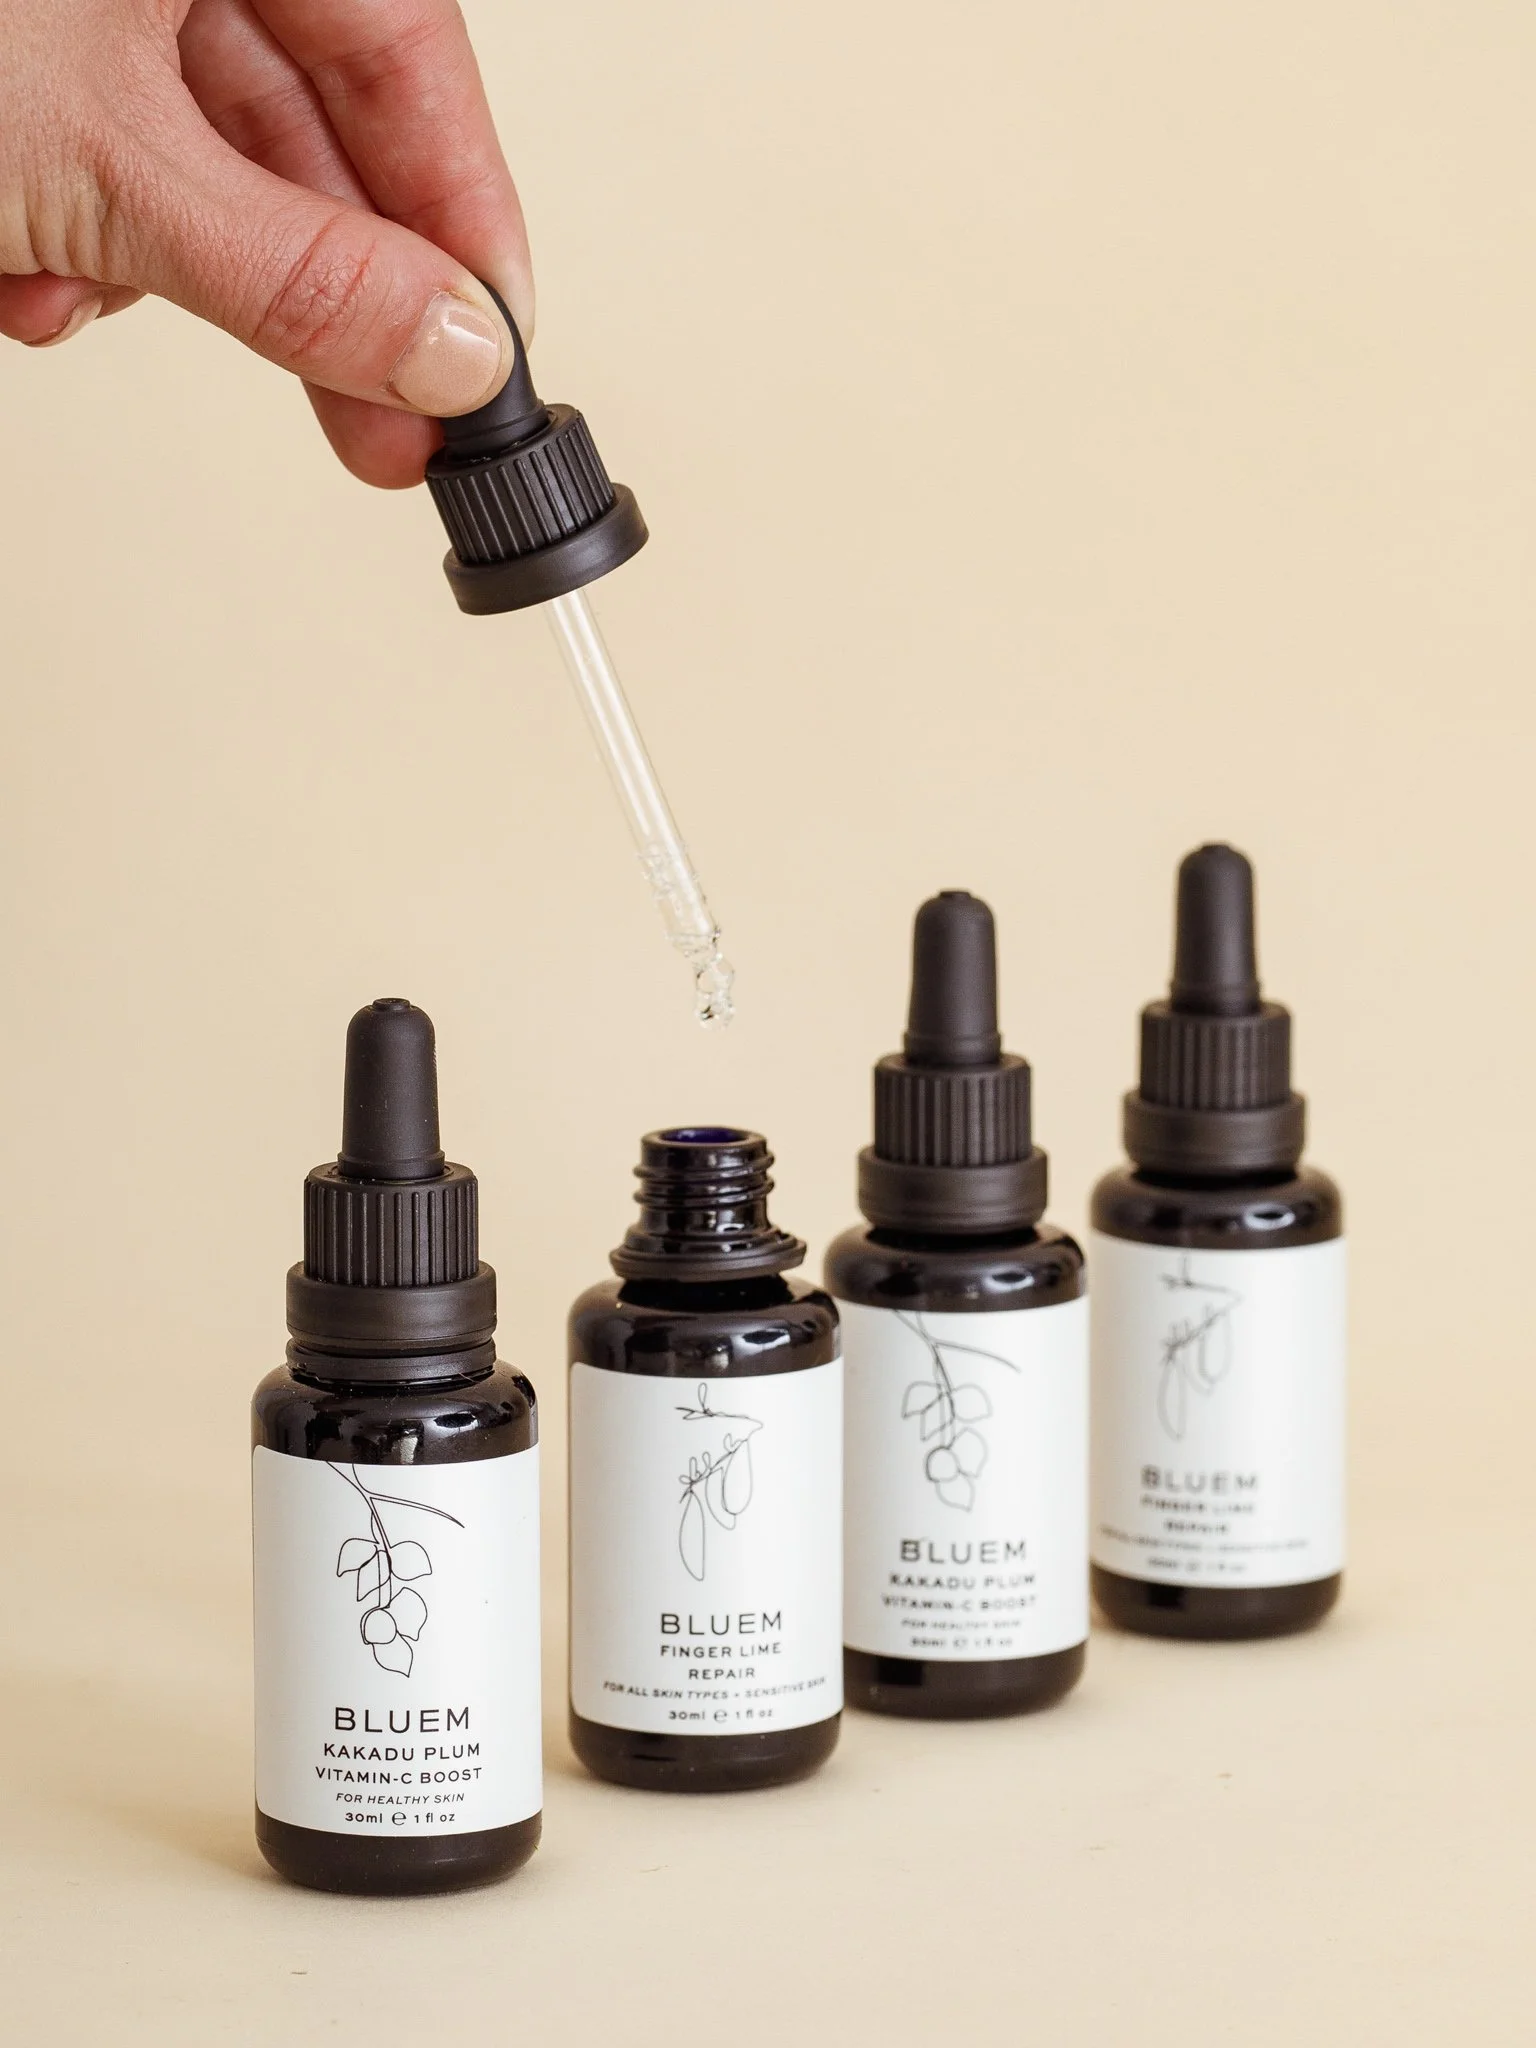
Step 6: Capture the Details
Skincare photography is all about texture, clarity, and subtle details. Here's how to highlight these features:
Texture: Use close-up shots to showcase the creamy texture of moisturisers or the lightness of serums.
Packaging: Capture unique design features, such as embossed logos or sleek bottle caps.
Application: Include shots of the product in use, like serum drops on skin or foam lathered on hands, to demonstrate its functionality.
Step 7: Edit with Precision
Post-production is where your photos are transformed into polished works of art. Tools like Adobe Lightroom and Photoshop are commonly used for editing. Here's how to optimise your editing process:
Adjust Lighting and Contrast: Ensure the product’s colours are vibrant and true to life.
Retouch Imperfections: Remove any blemishes, fingerprints, or dust particles from the product surface.
Enhance Textures: Bring out the fine details of textures for a tactile, visual appeal.
Maintain Consistency: If you’re shooting a series of products, ensure the colours and tones remain consistent across all images.
Step 8: Optimise for E-Commerce
Your final images should be tailored to online platforms. Keep these key points in mind:
File Format: Use high-resolution JPEGs for websites and PNGs for transparent backgrounds.
Resize for Speed: Compress your images to reduce file size without compromising quality.
Adapt for Social Media: Crop images for social media formats, such as square for Instagram or vertical for stories.
Include Multiple Angles: Showcase your product from various perspectives to provide a well-rounded view.
Step 9: Work with Professionals
Sometimes, outsourcing skincare photography can elevate your brand’s image. Melbourne Ecom and Studio Photography specialise in creating stunning visuals tailored for e-commerce. Their expertise in skincare photography in Melbourne ensures your products are presented with the highest level of finesse and professionalism.
Conclusion
Capturing the perfect skincare product shot involves a blend of technical skill, creative vision, and a deep understanding of your brand’s identity. From mastering lighting and composition to fine-tuning details during post-production, every step is crucial in producing stunning visuals. Whether you're a DIY enthusiast or collaborating with professionals like Melbourne Ecom and Studio Photography, these tips will help you stand out in the competitive skincare market.
Remember, your product images are often the first impression potential customers have of your brand. By investing time and effort into creating high-quality visuals, you are not just showcasing a product; you are telling a story that resonates with your audience.
Embrace the opportunities offered by skincare photography in Melbourne, and watch your brand’s visual presence soar.