10 Tips for Perfect Ecommerce Clothing Photography on a Budget
When it comes to ecommerce clothing photography, the quality of your images can significantly influence customer purchasing decisions. However, professional photoshoots can often be costly, and not every business has the luxury of a high-end budget for this essential marketing tool. Fortunately, with the right approach, you can achieve high-quality ecommerce clothing photography without breaking the bank. Melbourne Ecom and Studio Photography have helped countless businesses achieve stunning product photos, and now, you can take advantage of their tips and techniques to create the perfect images on a budget.
Here are 10 actionable tips for perfect ecommerce clothing photography that won’t break the bank:
1. Invest in Basic, Affordable Equipment
High-end equipment can be expensive, but that doesn’t mean you can’t create professional-looking photos. Start with the basics: a good-quality camera, a tripod, and some affordable lighting equipment. You don’t need the latest model to achieve great results. Many smartphones today come with impressive camera capabilities, making them an excellent starting point for your ecommerce clothing photography. A simple DSLR or mirrorless camera can also do wonders without needing a huge investment.
Tip: If you’re on an extremely tight budget, even second-hand equipment can offer excellent value. Just be sure to check for any potential damage.
2. Use Natural Light to Your Advantage
One of the most effective ways to cut costs on photography is by using natural light. Set up your photoshoot near a large window or in an area with plenty of ambient light. Natural light can help bring out the true colours of the clothing, making it appear more vibrant and accurate.
Tip: The best times to shoot are during the day when the sun is bright, but not directly overhead. Early morning or late afternoon provides the softest, most flattering light for clothing.
3. Create a DIY Lightbox for Studio-Quality Shots
You don’t need a professional studio setup to achieve clean, consistent product shots. A DIY lightbox is an excellent solution for creating studio-quality lighting at home. A lightbox provides a controlled environment that helps diffuse light evenly, reducing harsh shadows and bright spots.
How to create one: Simply grab a large cardboard box, cut out windows on the sides, and cover them with white fabric or tracing paper. Place a light source inside or outside the box and you’ll have a simple, effective lightbox for your ecommerce clothing photography.
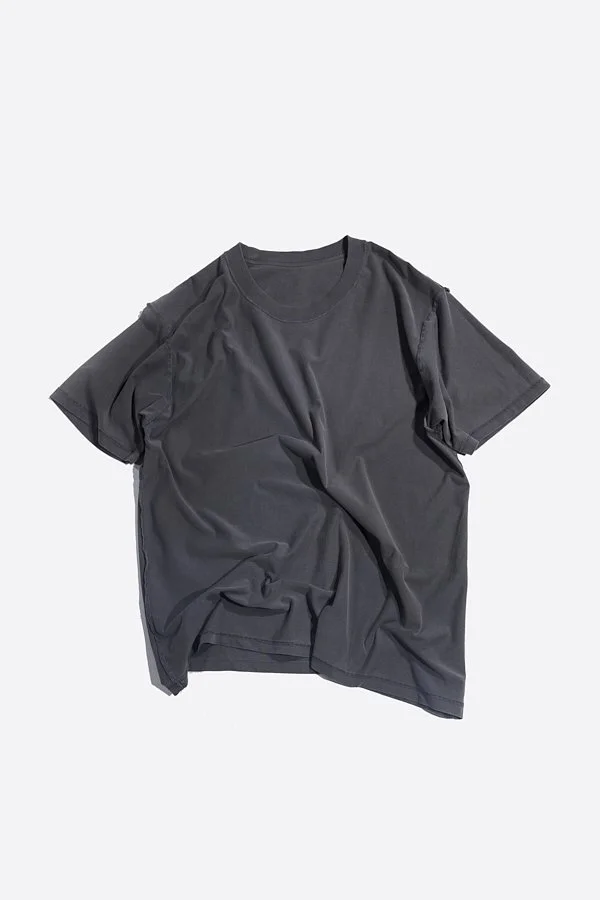
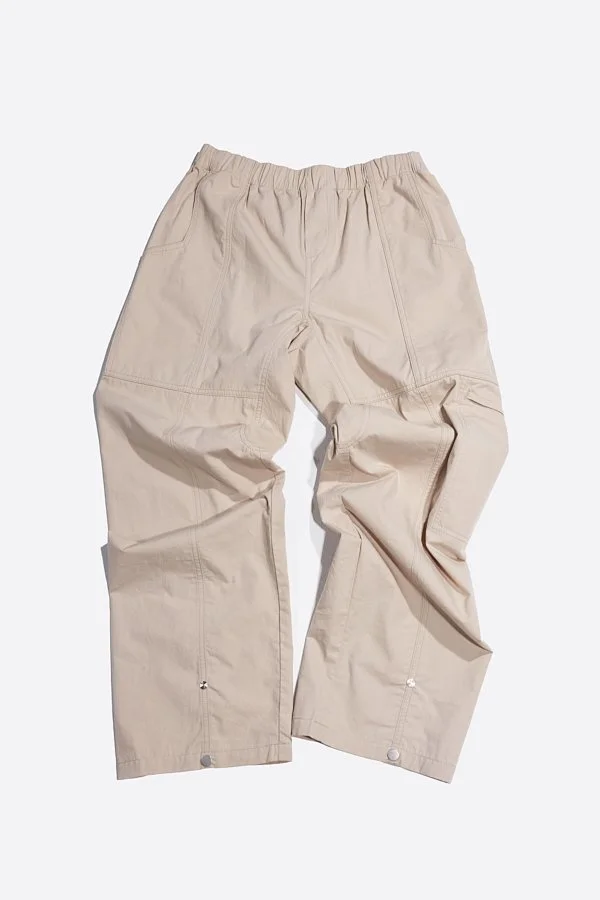
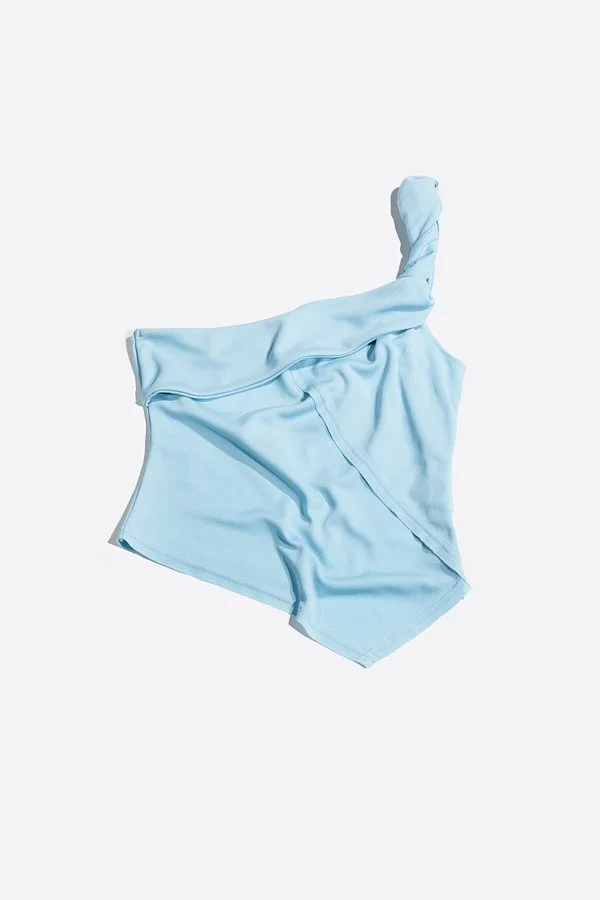
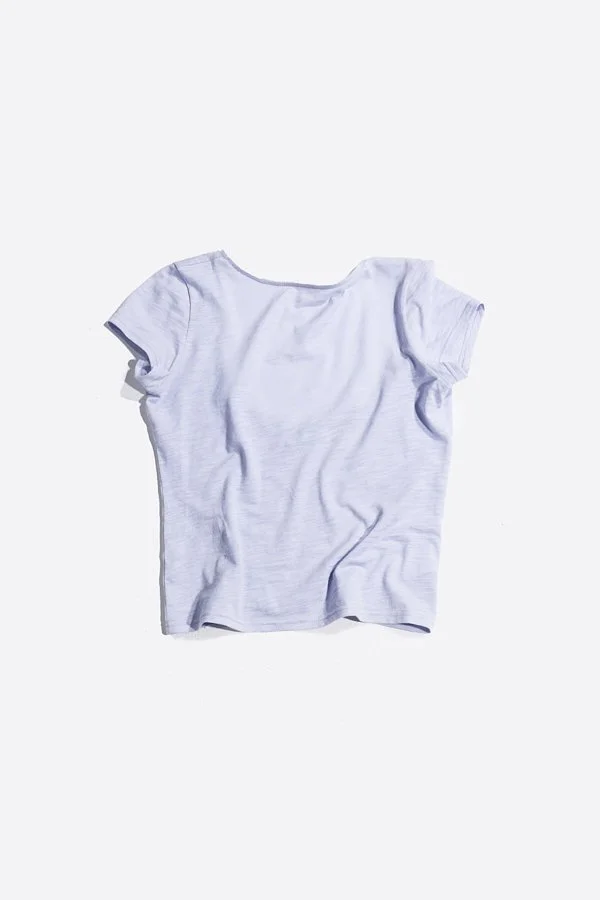
4. Use a Simple Backdrop
A cluttered or distracting background can take attention away from the clothing you’re trying to sell. Stick with a clean, neutral backdrop to keep the focus on the products. White, grey, or beige are great options, and they can be easily found in fabric stores or even from old sheets.
Tip: If you’re shooting garments that need to stand out, consider using coloured backdrops, but ensure they complement the clothing rather than overwhelm it. Avoid bright, clashing colours.
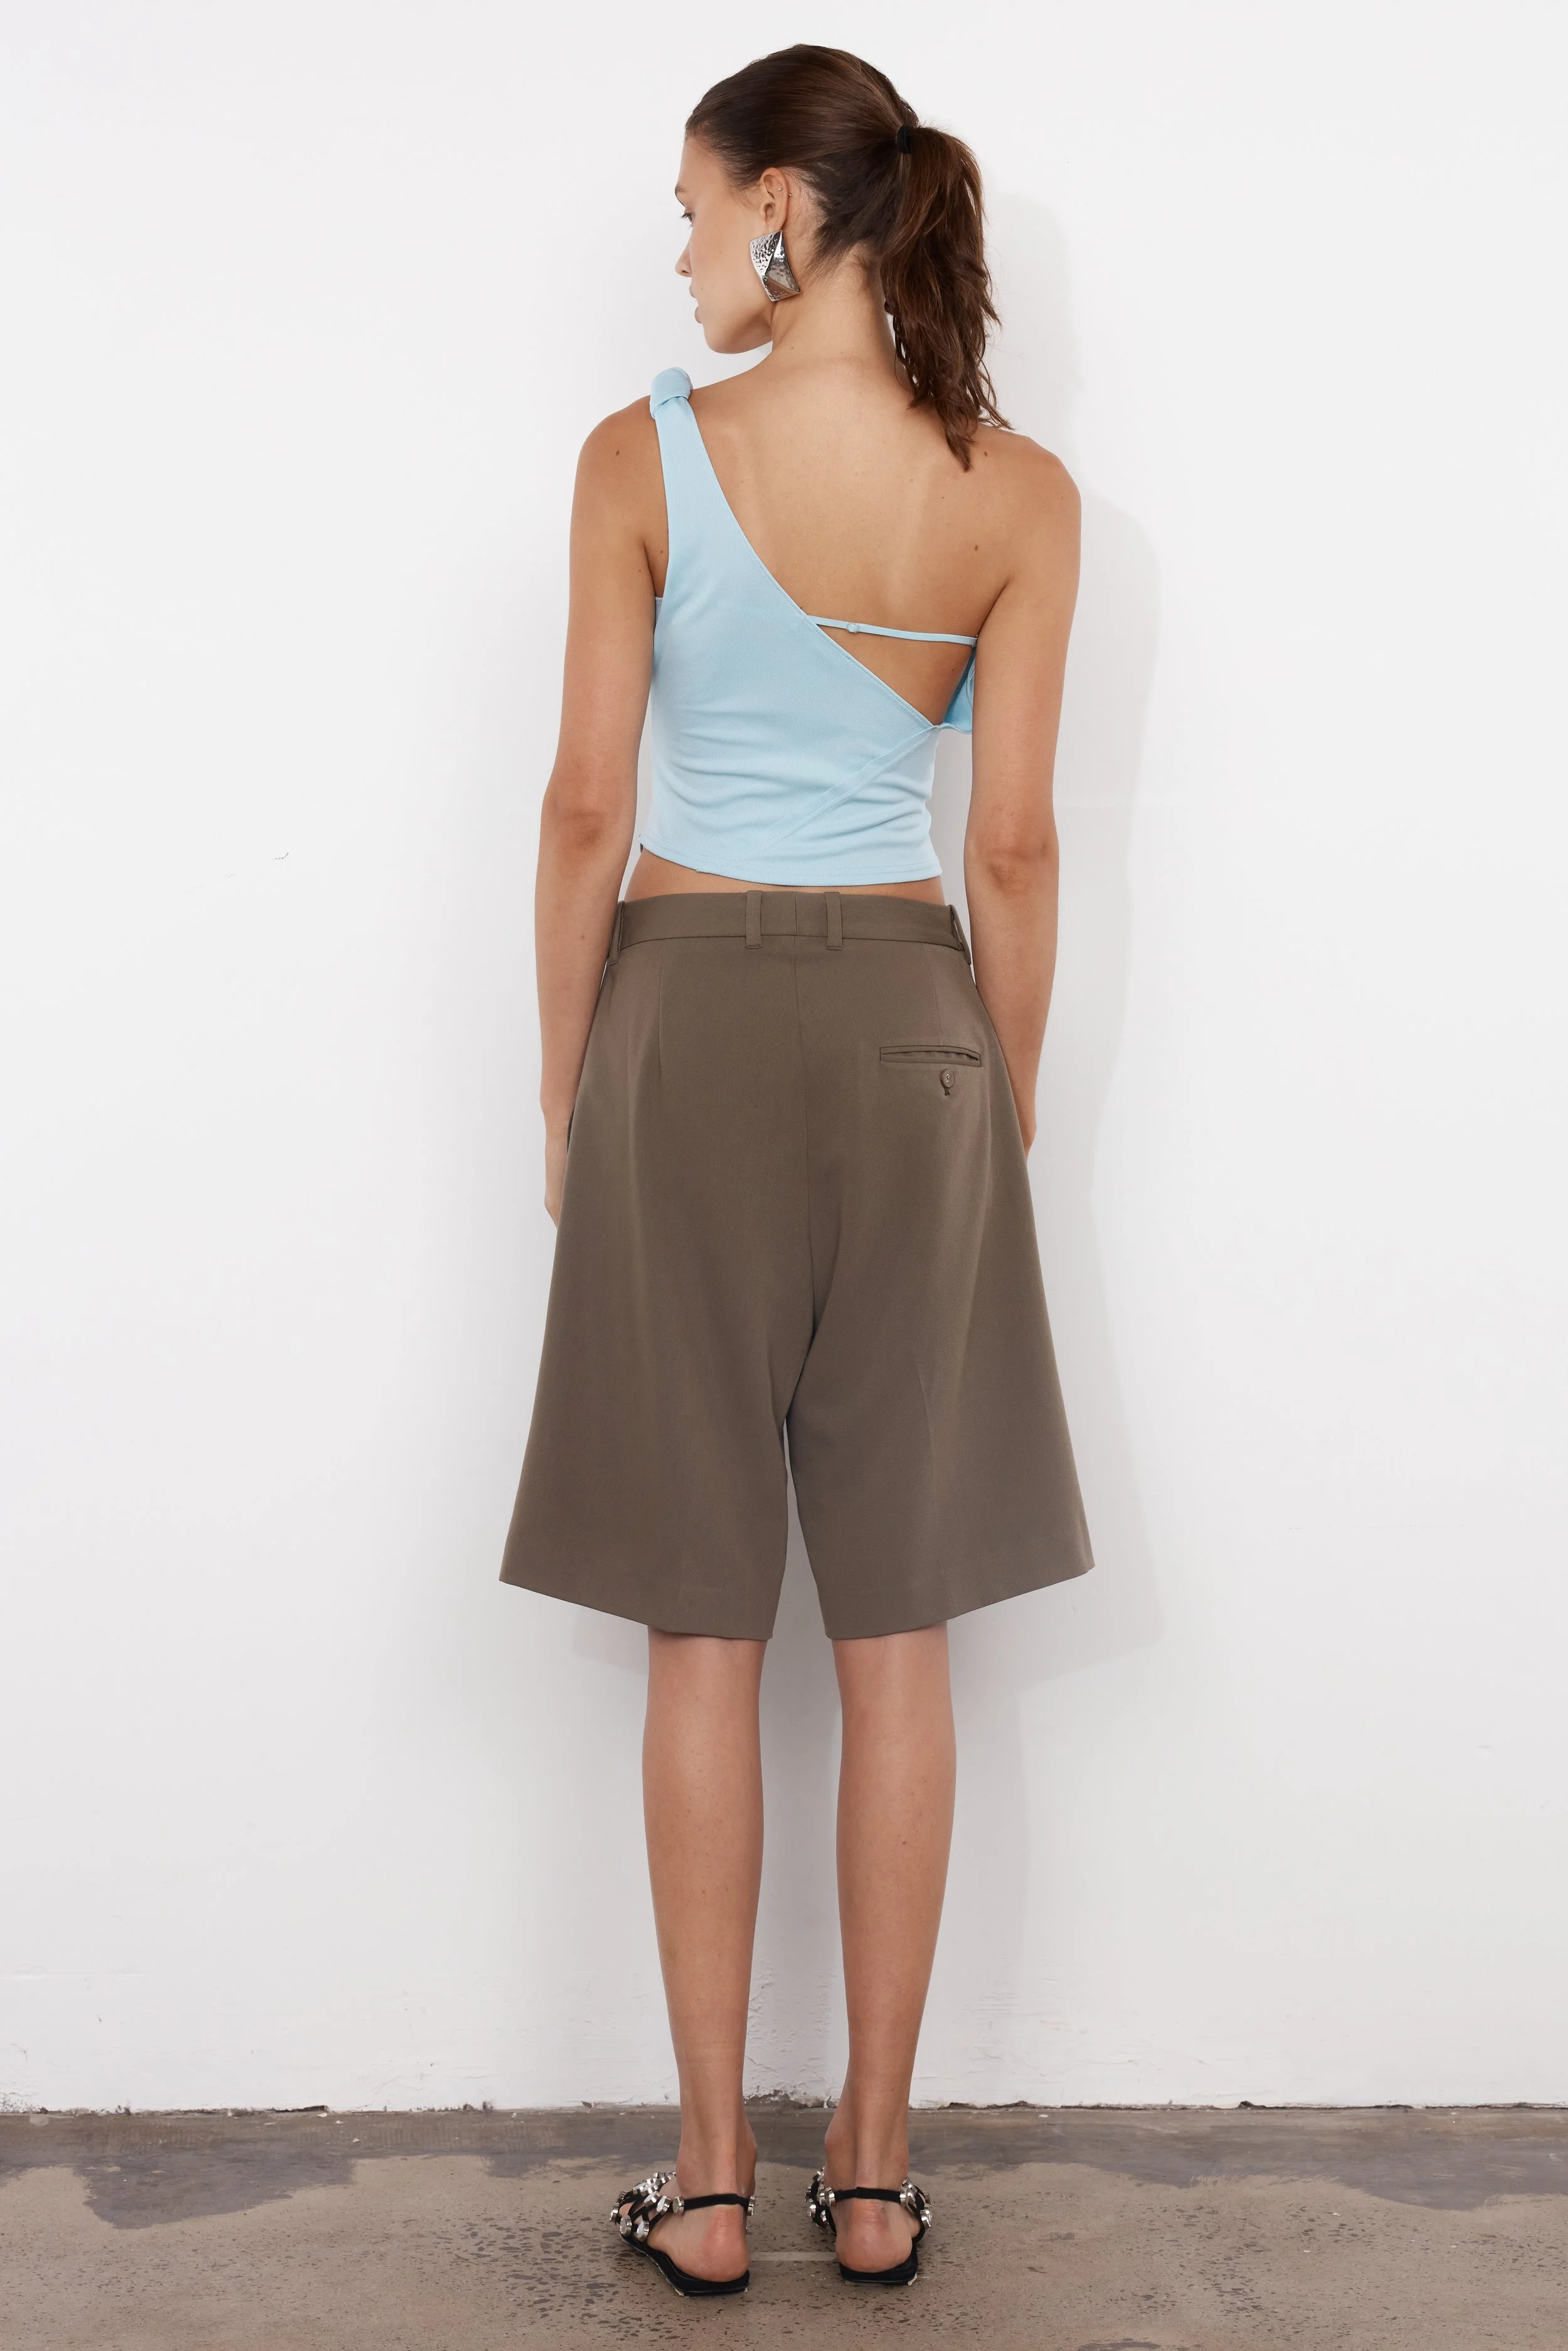
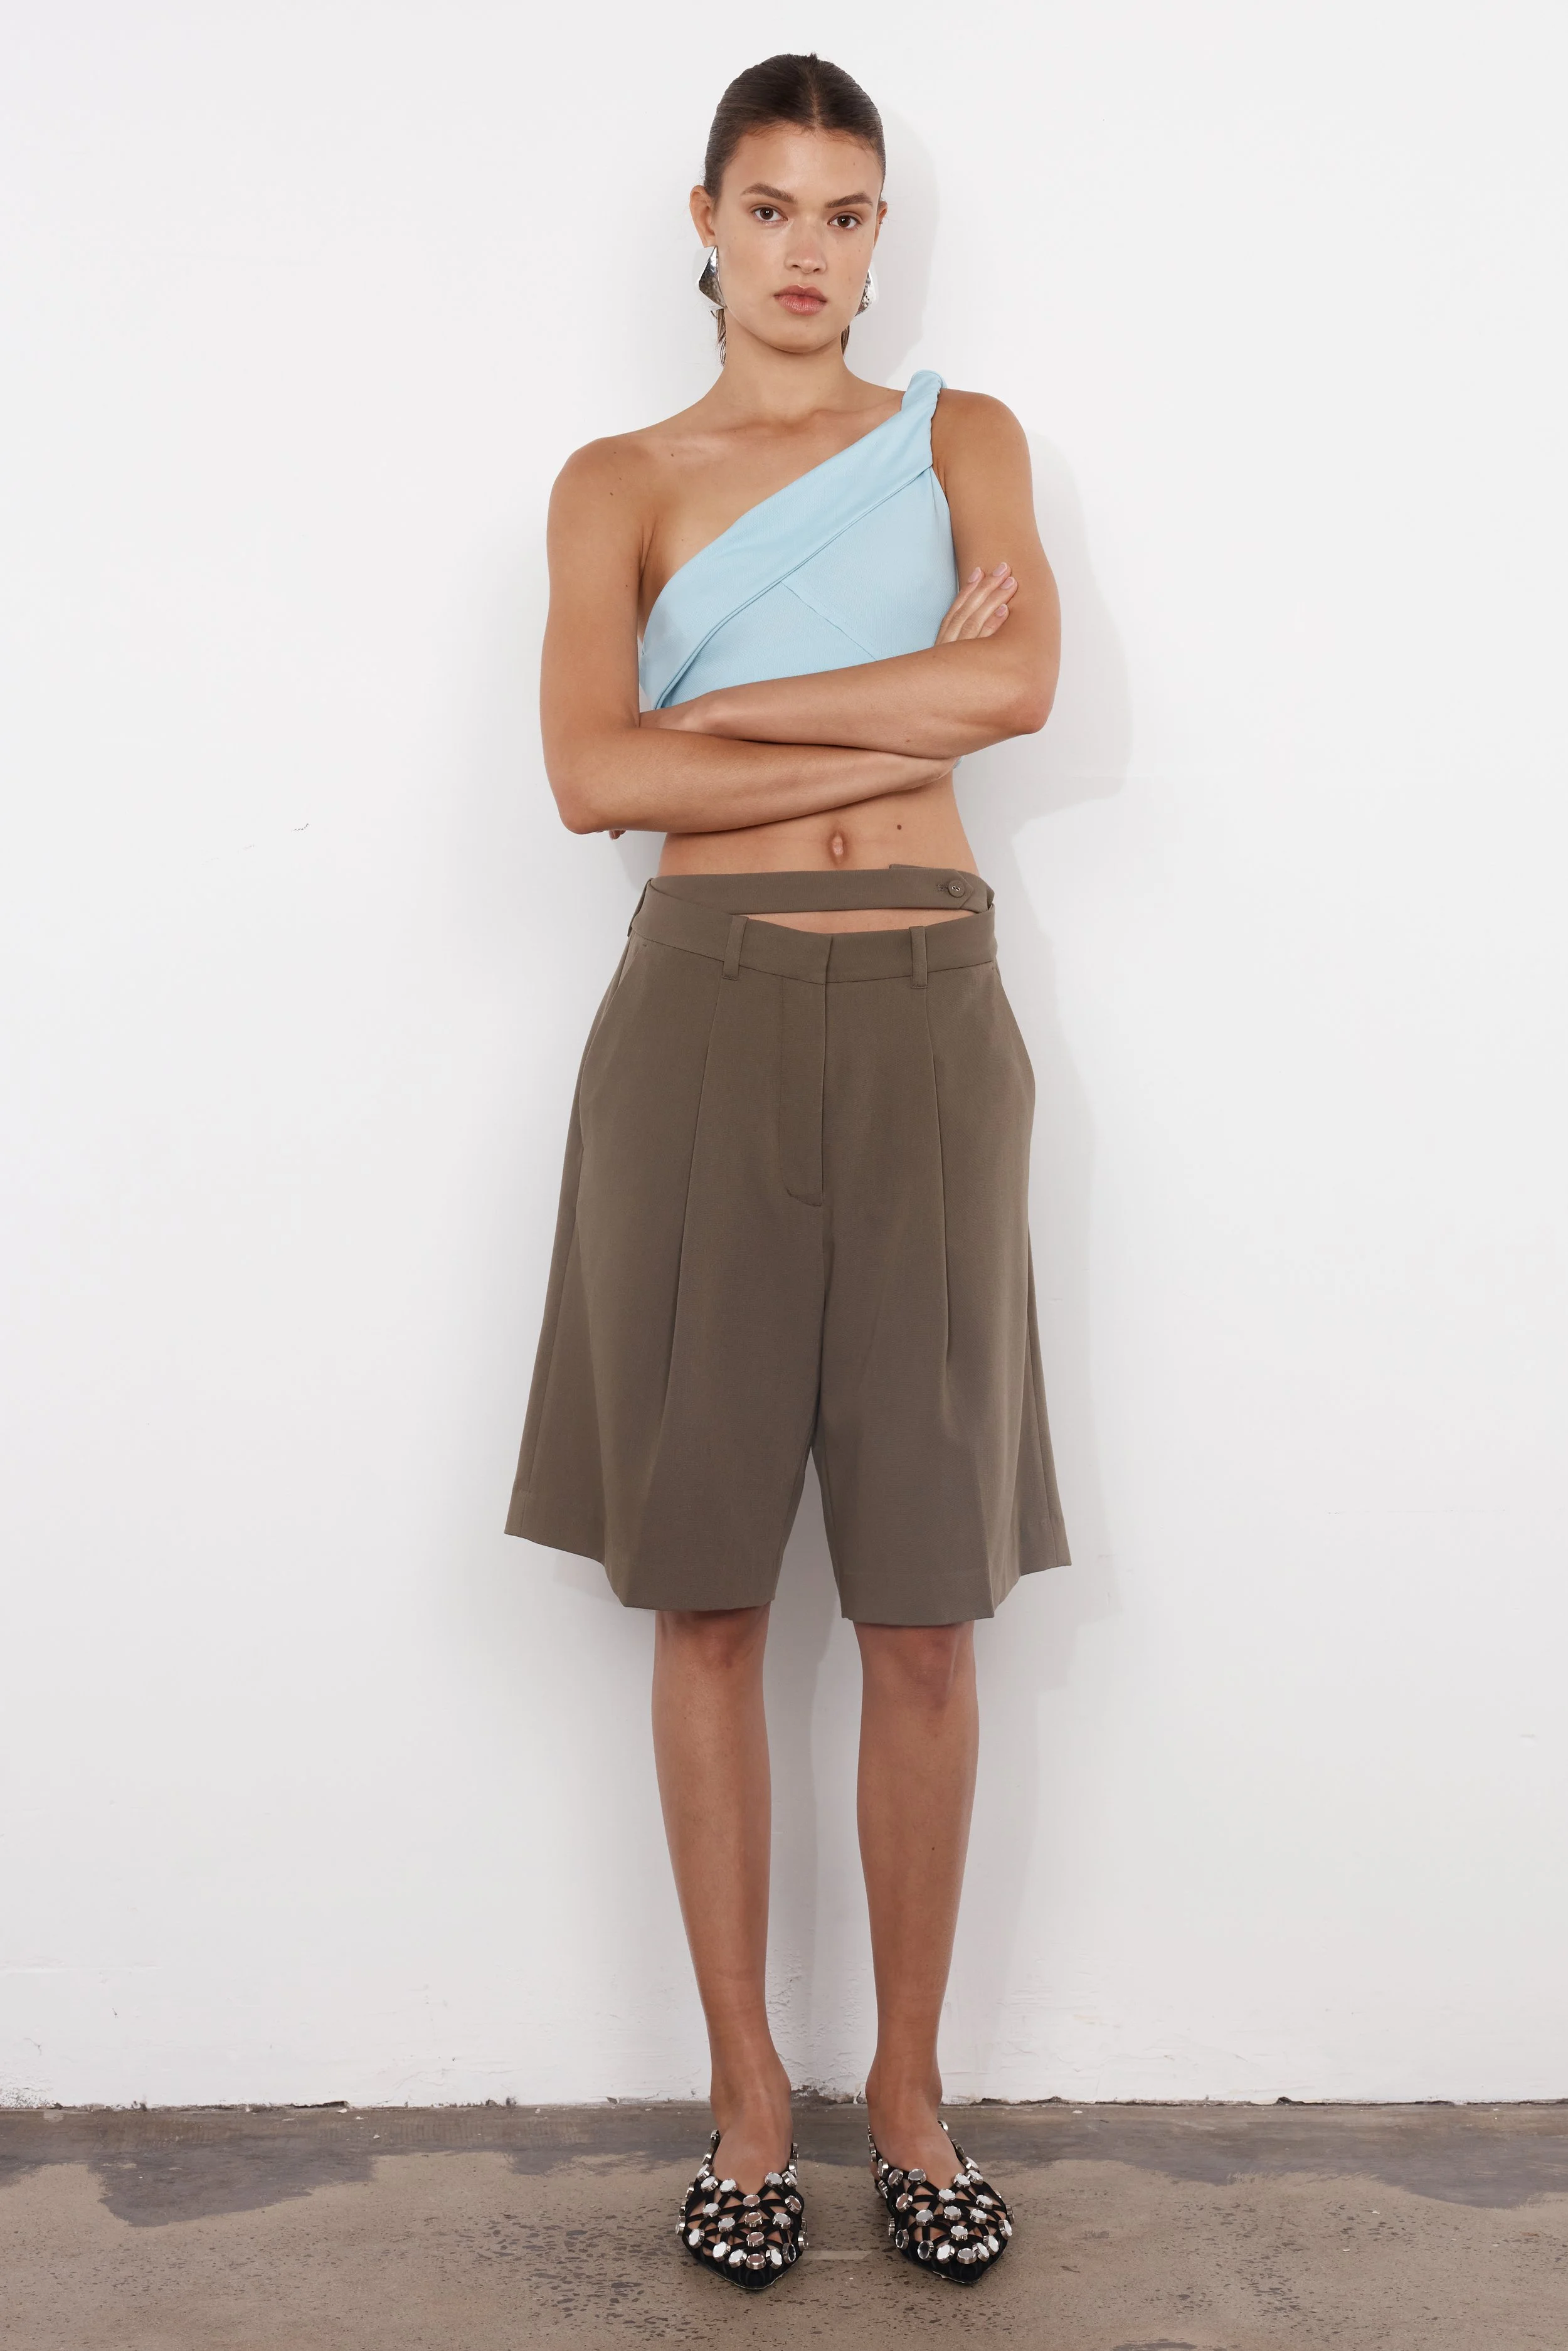
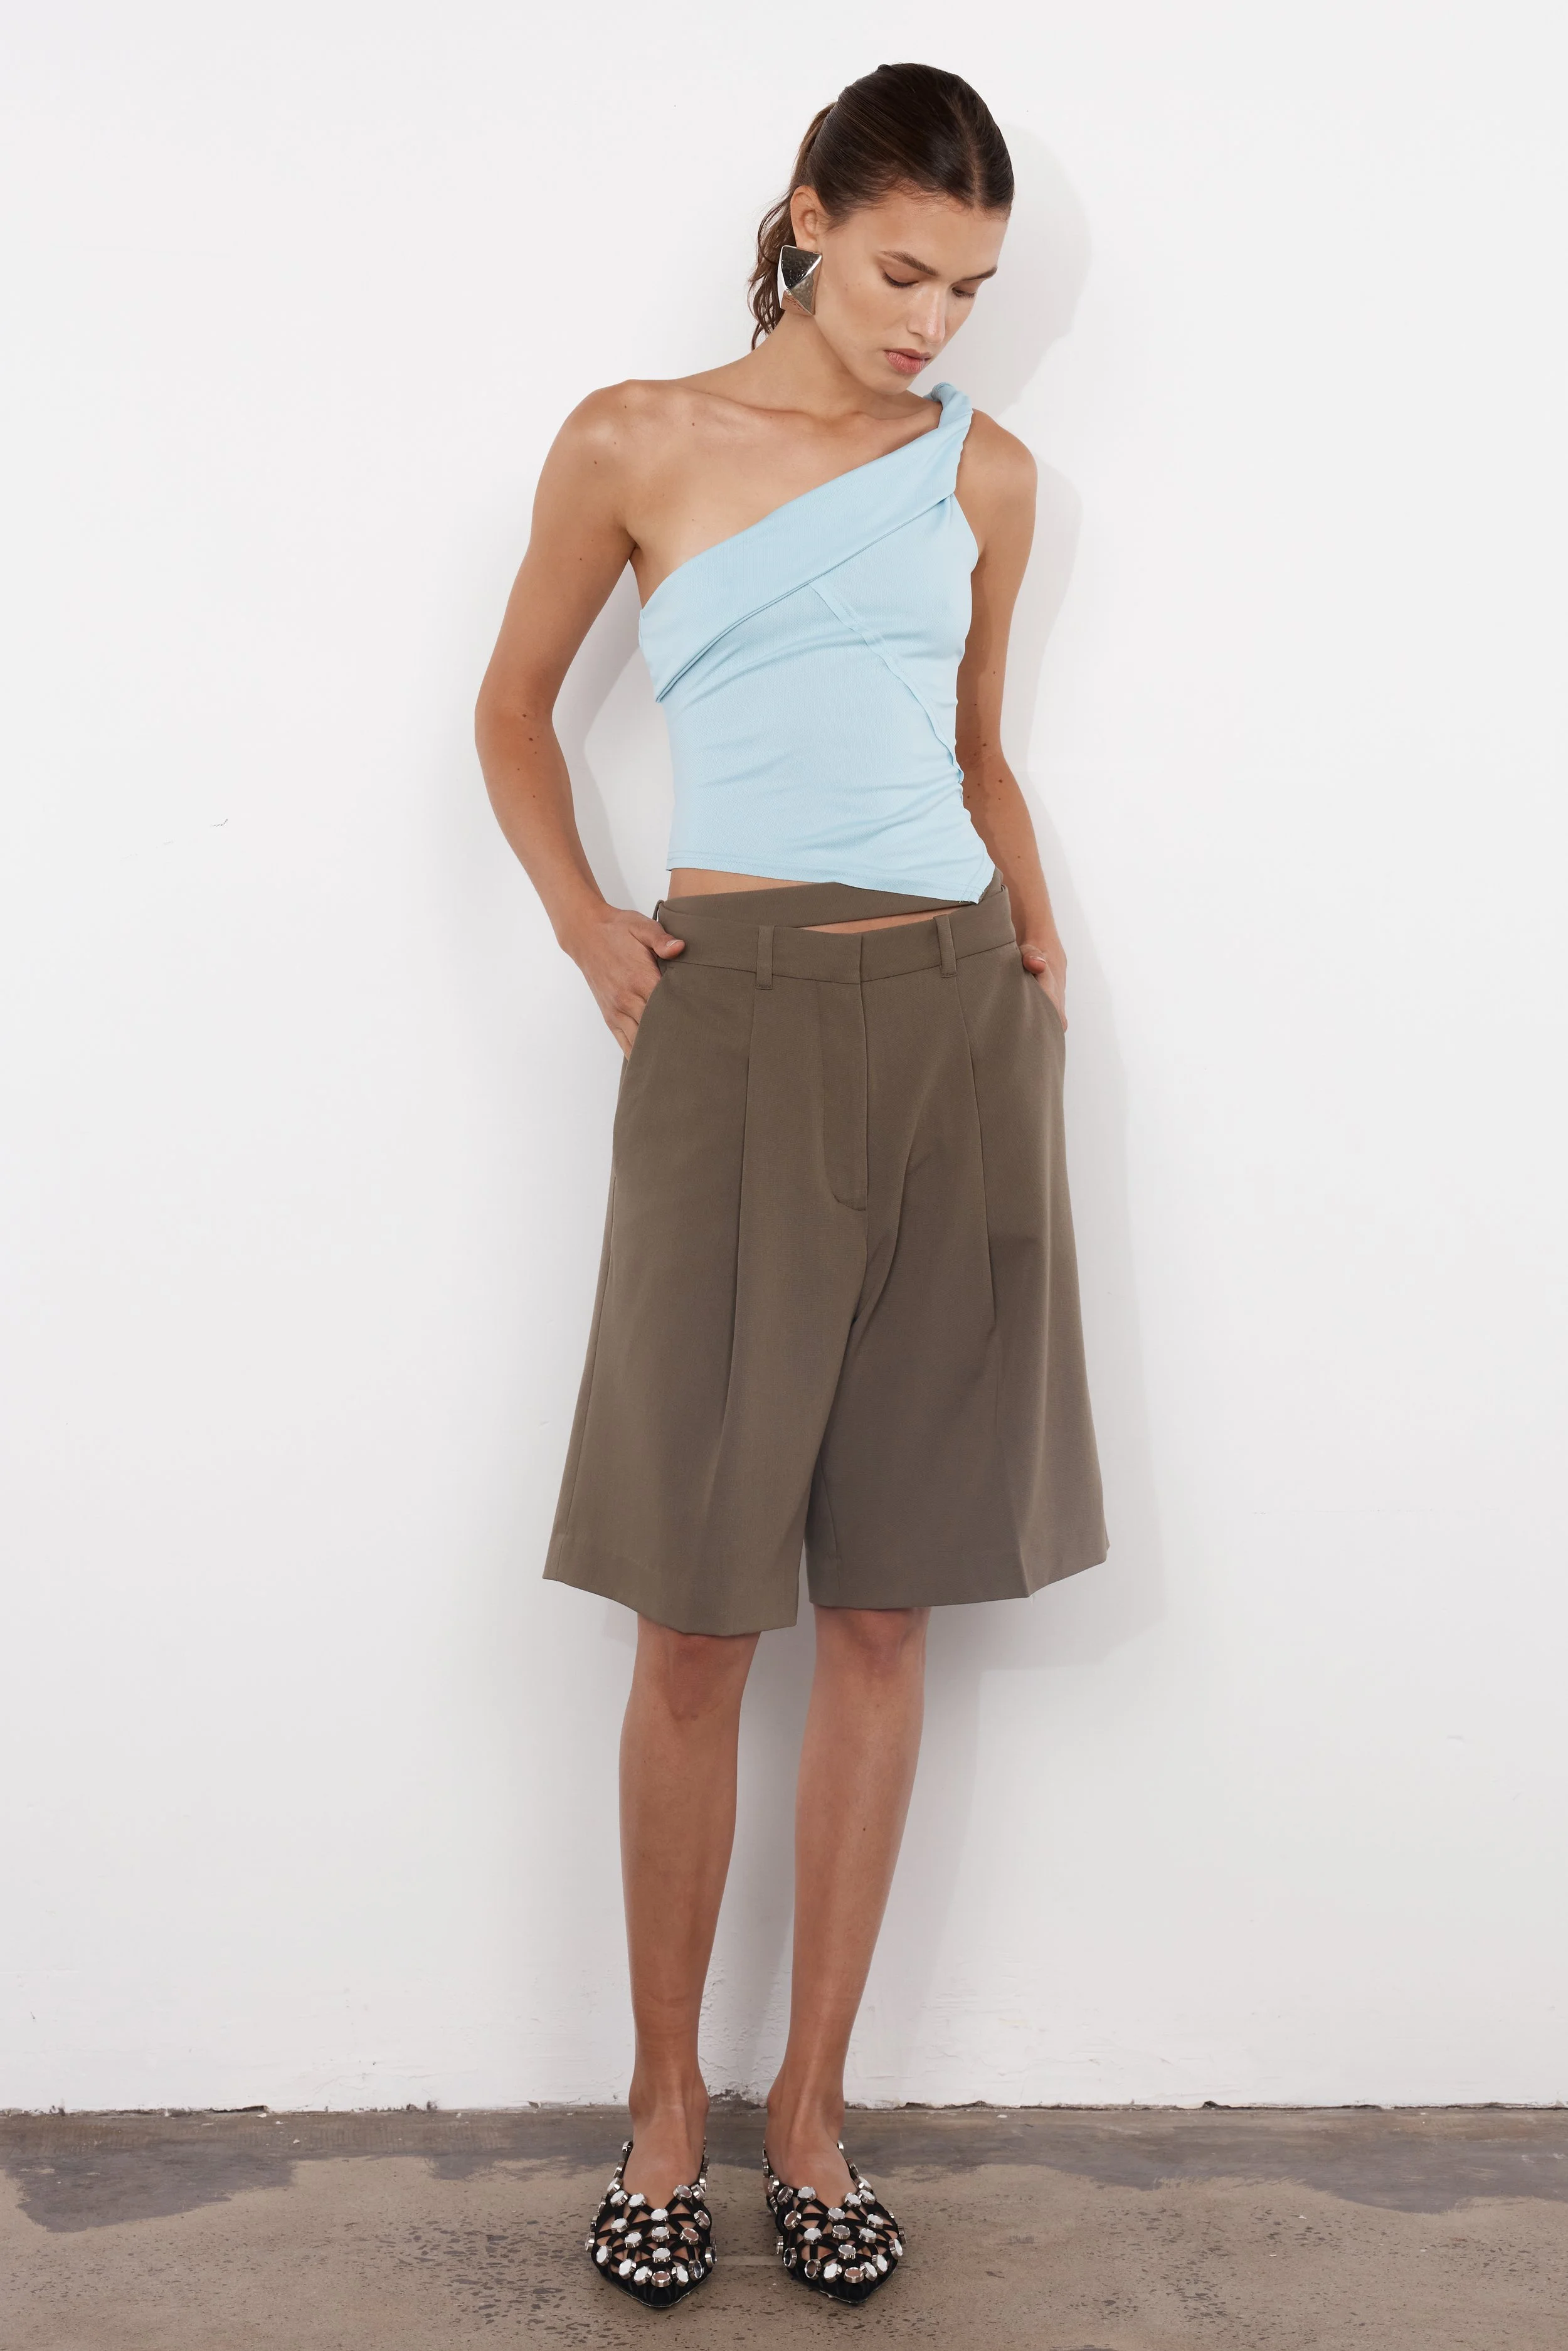
5. Use a Mannequin or Model for Better Product Representation
While flat lay photography is a great way to showcase your clothing, nothing compares to seeing the clothes in action on a model or mannequin. Using a mannequin or hiring a model can make your clothing appear more realistic and help customers better visualise how it will look when worn.
Tip: If hiring a model is out of budget, consider using a mannequin or dress form that can be found for a relatively low cost. Even an adjustable mannequin can give you a more polished look than flat-lay shots.
6. Style Your Clothing Properly
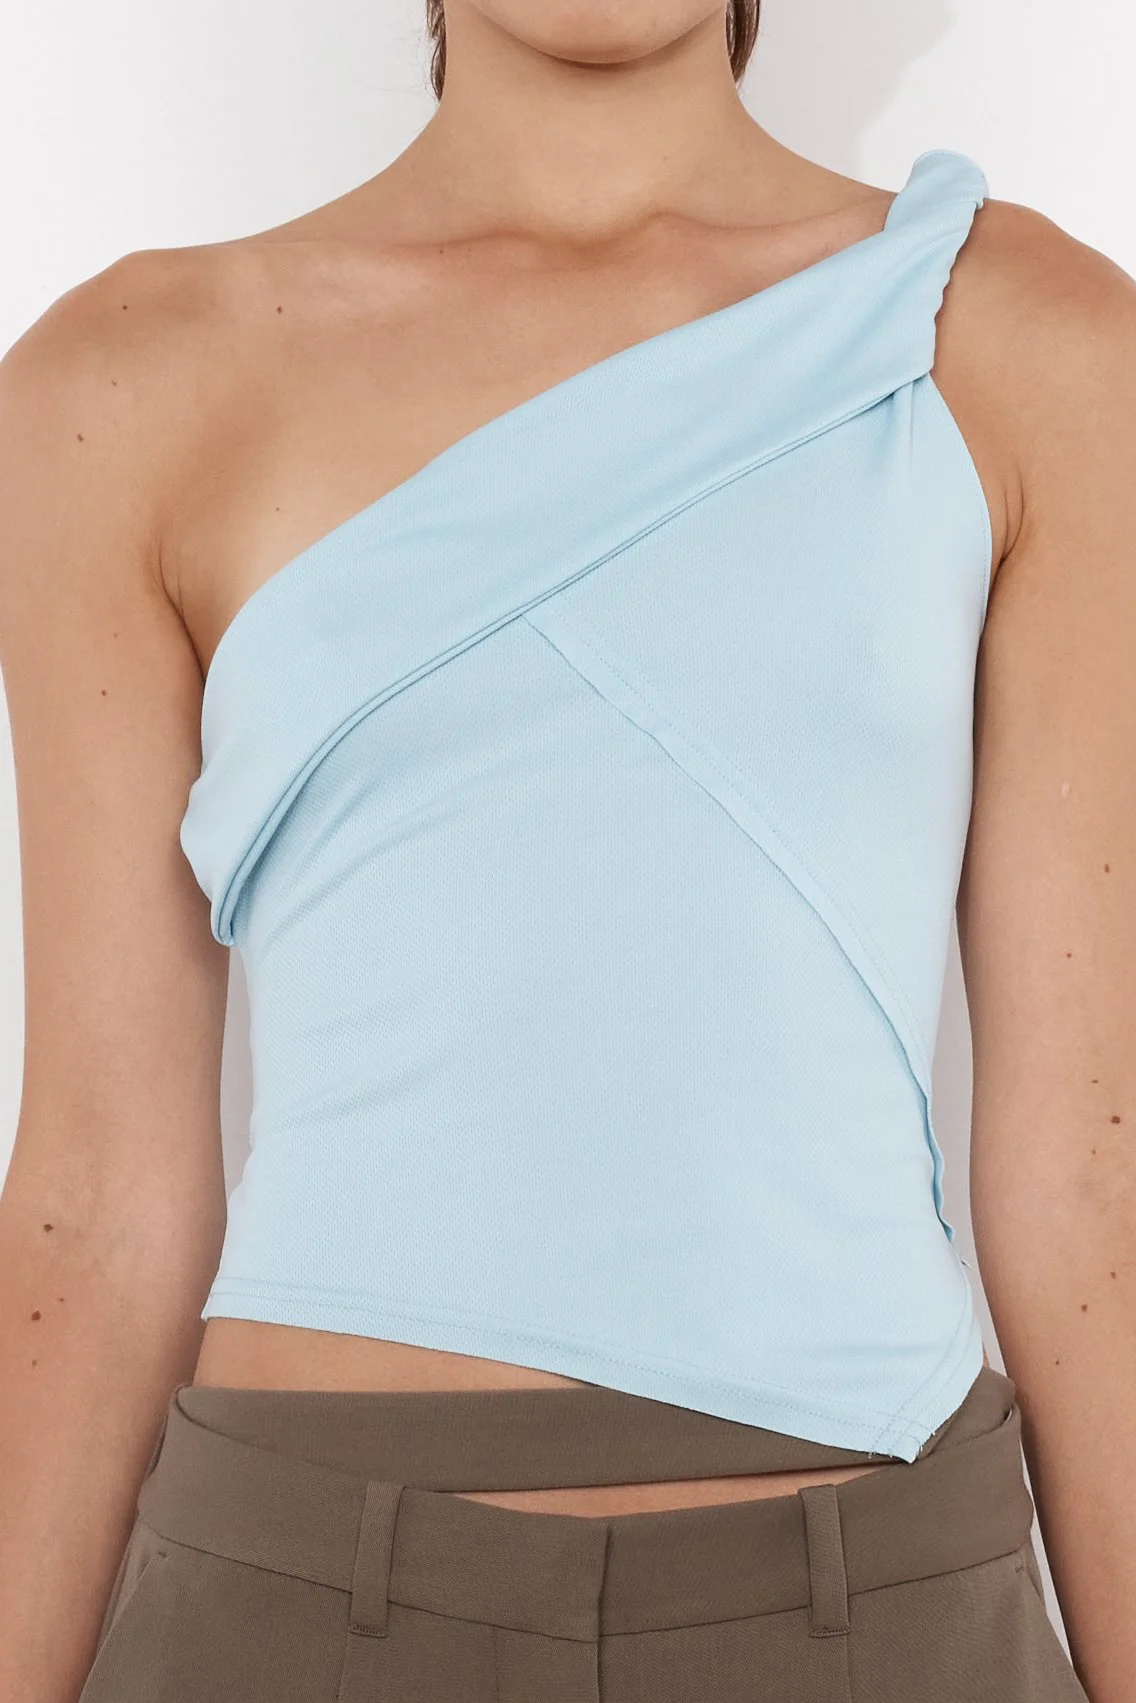
The way you style your clothing for photoshoots can make a huge difference in how it is perceived. Ensure that your clothing is neatly pressed and styled to highlight its best features. A wrinkled garment can make even the highest-quality photos look unprofessional. Use simple accessories like belts, hats, or jewellery to elevate the look of your clothing, but avoid over-styling.
Tip: Experiment with different angles and poses to highlight key details of the garments, such as zippers, buttons, or prints. This is especially important for clothing that features intricate designs.
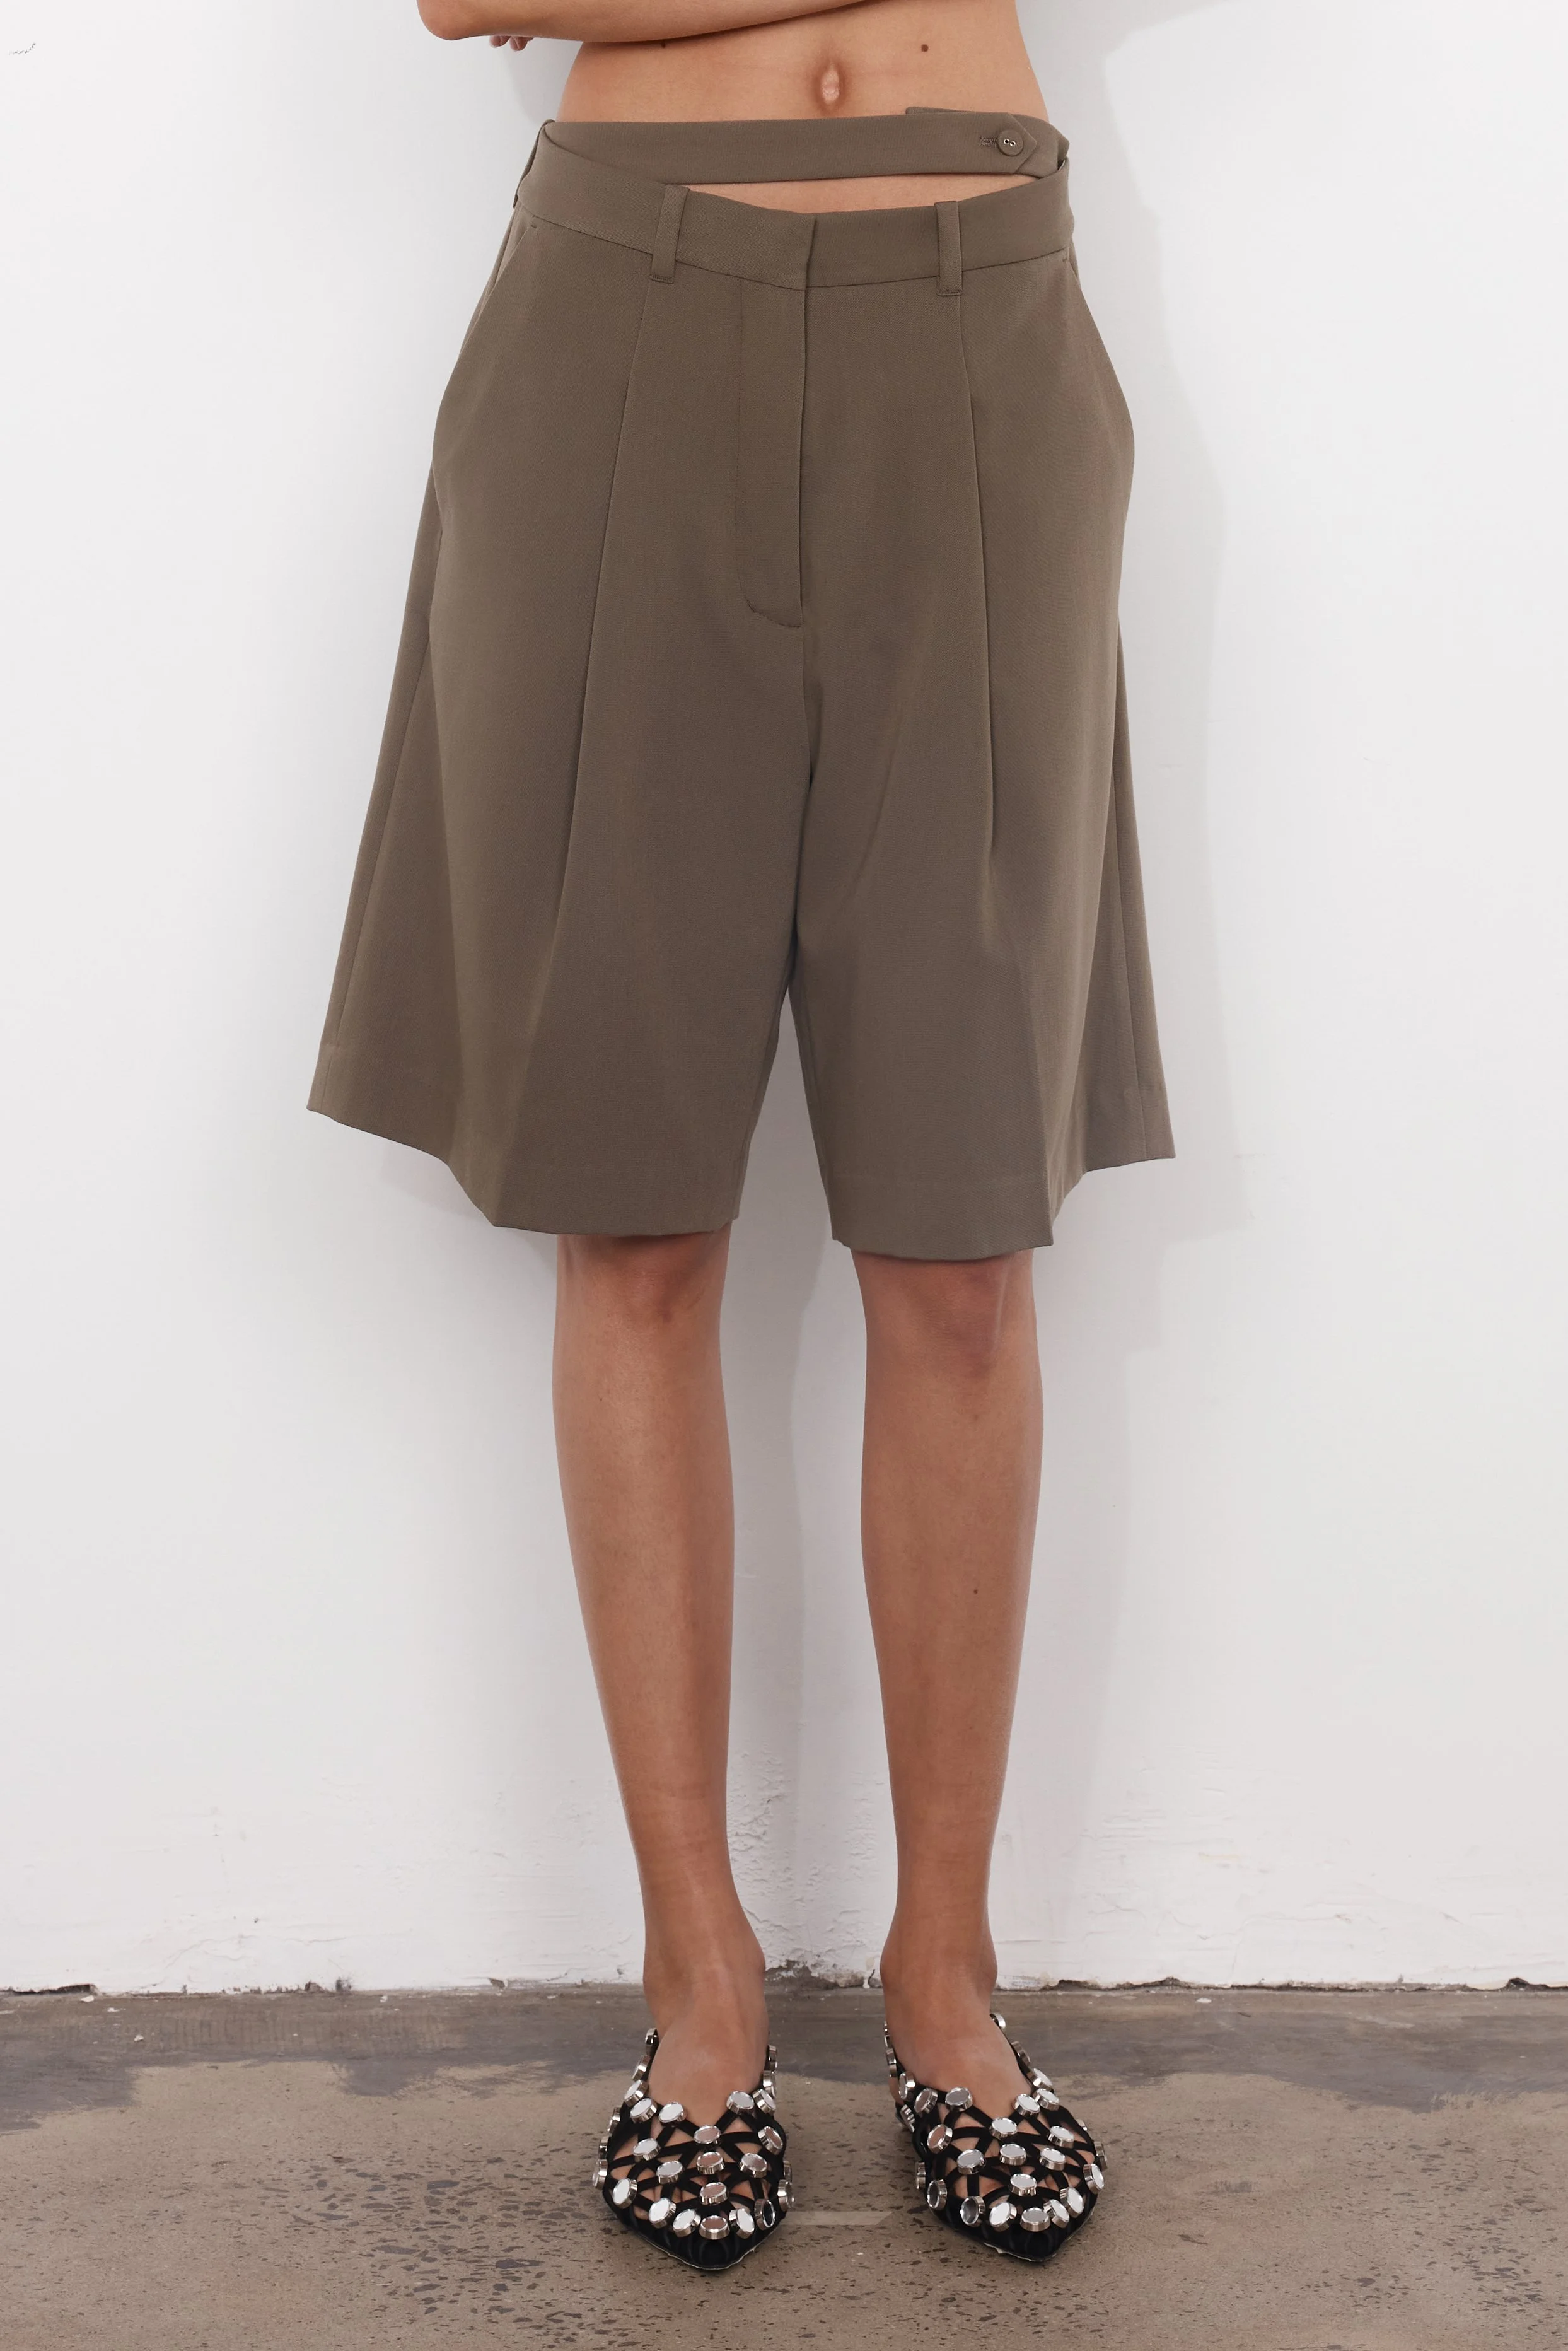
7. Shoot Multiple Angles
Customers want to get a full understanding of the clothing they are considering purchasing, and this includes seeing it from multiple angles. Take photos of your clothing from the front, back, and sides to provide a 360-degree view. The more angles you capture, the more likely customers will feel confident in their purchase.
Tip: If you can, take close-up shots of any unique features such as stitching, patterns, or fabric textures to give a closer look at the garment’s quality.
8. Edit Your Photos, But Don’t Overdo It
Post-production editing is crucial to ensuring your images are as professional as possible. While you should adjust brightness, contrast, and colours to ensure they accurately represent the clothing, avoid over-editing the images. Customers are more likely to trust photos that look authentic and true to life.
Tip: Free editing tools like GIMP or Lightroom can help you tweak your images. Use these tools to adjust white balance, remove any stray shadows, and improve the overall sharpness.
9. Maintain Consistency Across Product Shots
If you’re photographing multiple pieces of clothing, maintaining consistency across your product shots is key to creating a cohesive online store. Consistent lighting, backgrounds, and styling give your store a more professional look. Ensure that all your clothing is shot with the same lighting setup and from similar angles to create a uniform appearance across your site.
Tip: Once you’ve figured out your ideal shooting setup, stick with it. This will help maintain consistency, even as you add more products over time.
10. Use Free and Low-Cost Tools to Enhance Your Photos
There are several free or low-cost tools that can help improve the quality of your ecommerce clothing photography. Platforms like Canva and Pixlr offer easy-to-use editing software with plenty of filters and enhancements that can bring your images to the next level without the need for expensive programs.
Tip: Take advantage of free resources such as stock photo sites and online design tools. If you need to add a logo or watermark to your images, these platforms make it easy to do so at no cost.
Conclusion: Quality Photography on a Budget
Achieving the perfect ecommerce clothing photography doesn’t have to come with a hefty price tag. With these simple, budget-friendly tips, you can create beautiful product images that attract customers and drive sales. The key is to focus on quality, consistency, and attention to detail.
Remember that the first impression a customer gets of your clothing is often through your photos, so investing time and effort into perfecting them can pay off in the long run. With these strategies from Melbourne Ecom and Studio Photography, you can ensure your clothing stands out in the competitive ecommerce marketplace—without the need for expensive gear or professional photoshoots.
By leveraging natural light, DIY backdrops, and basic equipment, you can create professional-quality ecommerce clothing photography on a budget, giving your business the visual edge it deserves.